Creating a BitBucket Account
BitBucket is a service that hosts repositories for the Version Control System called git.
While the capabilities of git will not be covered in this manual, it allows for revision control, as well as collaboration between members on documentation.
Creating an Account
The first step is to register for an account on BitBucket. This is a quick and free process.
https://bitbucket.org/account/signup/
Note
Edits you make to the documentation will be recorded publically under the name registered with your BitBucket account, so please bear this in mind if you do not wish to disclose your real life information to the unit.
Requesting a copy of the documentation
After you are logged in with your newly created BitBucket account, you have to create your own copy of the documentation online. This will allow you to work on your own changes or in small groups until you are ready to move it into the officially published documentation.
To do this navigate to
https://bitbucket.org/8th-sof/training-standards-and-manuals-repository
You should see a page similar to this:

Clicking the icon with three dots inside of it in the top right hand corner will produce a dropdown menu, as demonstrated in the image. Clicking the fork button will begin the process of creating your own copy of the documentation.
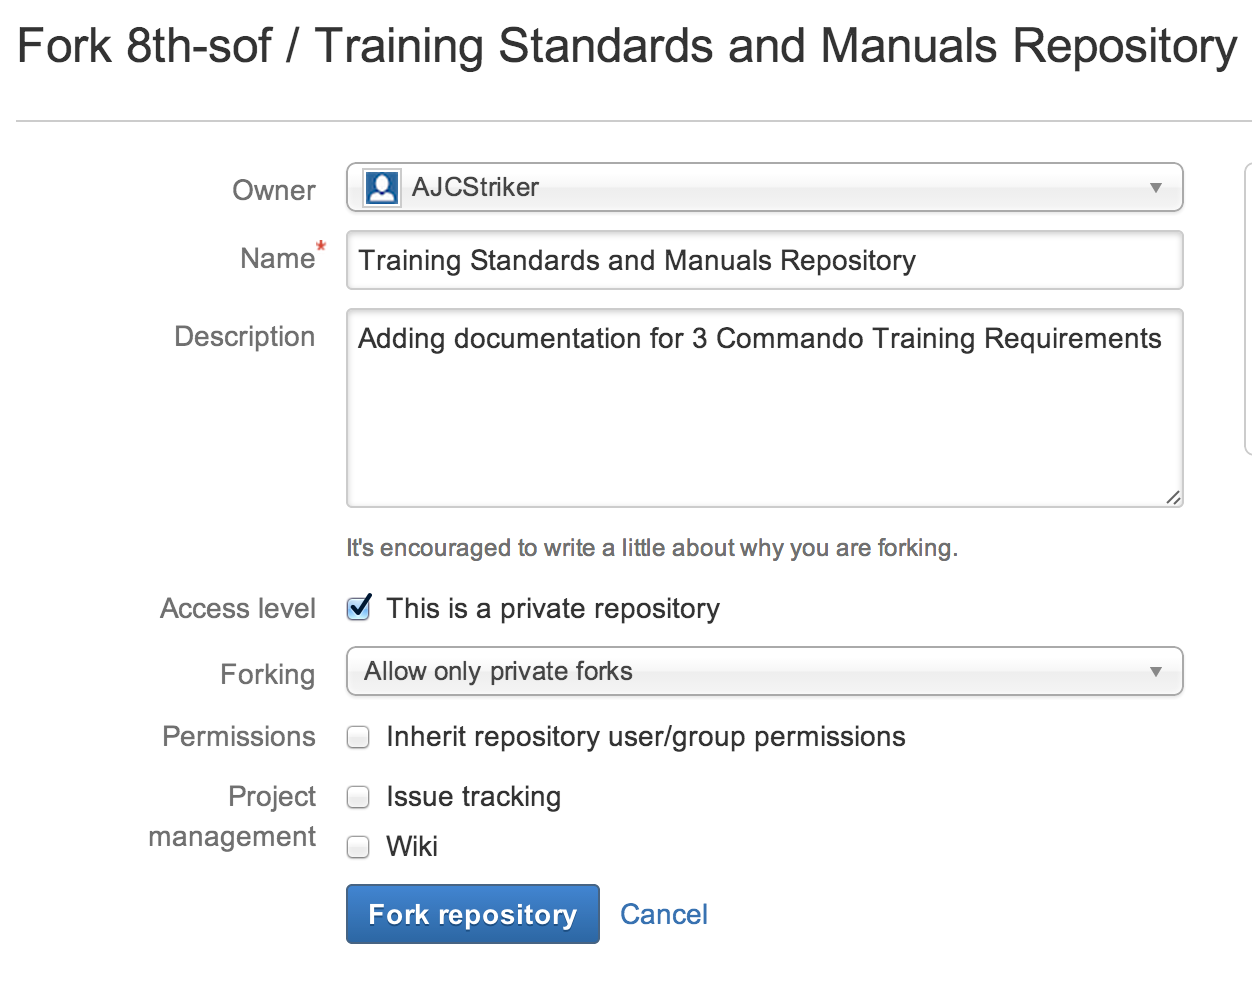
The next page is the information required to create your copy. Select the button to indicate a private repository so that your changes are kept private until they are published. Make sure wiki and issue management are unticked as they are unnecessary. Finally add a small blurb about what you intend to add to the documentation set in this particular editing set.
Once complete it should look similar to the image below.
That completes the process on BitBucket. Now it is time to download the documentation locally and begin making edits.